Sunday, November 16, 2014

You Don't Always Have to Pin

I have been doing this for several years, but just thought to share it last night.

Sometimes you need a zillion pins: Once upon a time, I stitched 192 of these bias strips together.
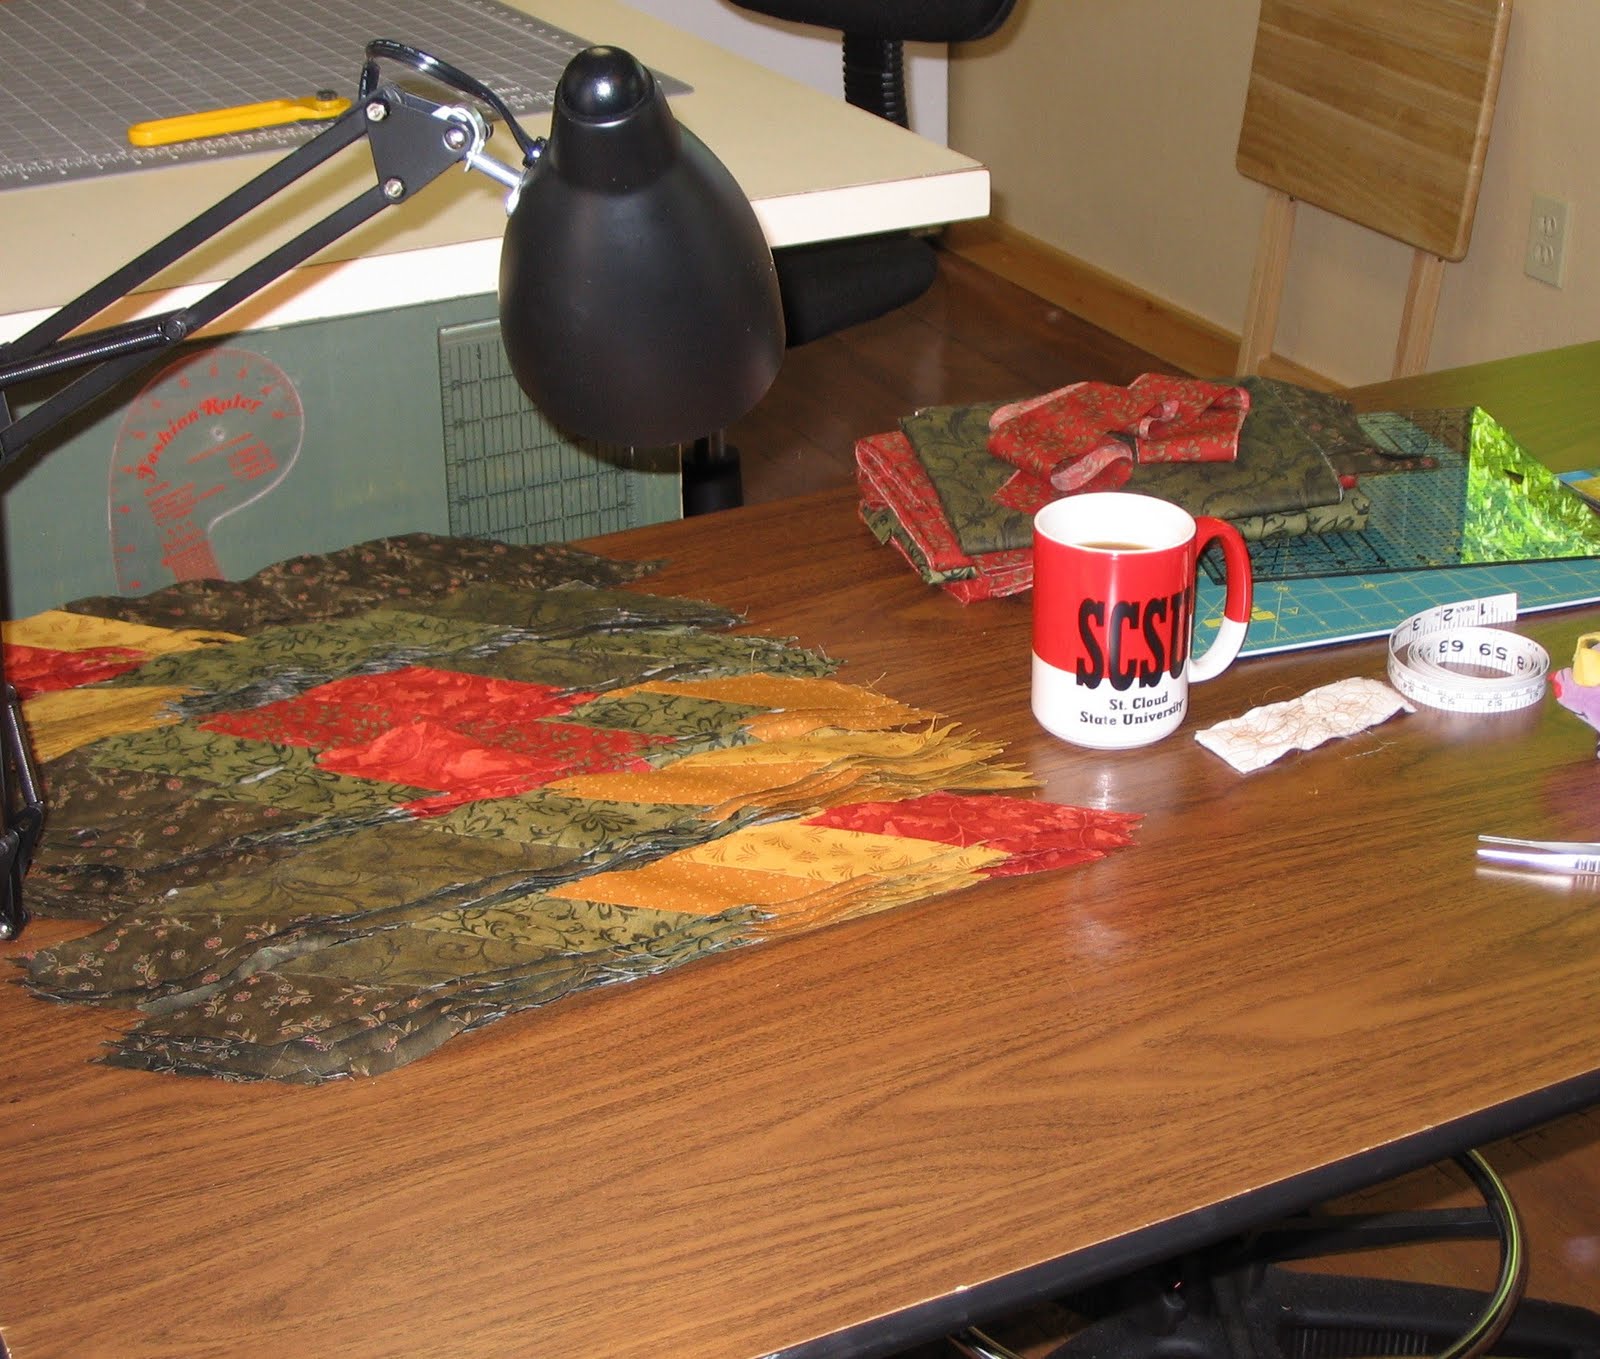
Then I had to pin, starch, steam and block 32 of these diamonds. 
It took me 3 years to complete and looking back seems surreal!
Did I actually do that?

Just giving you a little background, so  you will believe me when I say: I know the importance of pinning for accurate sewing.

but there are times.....when you don't have to pin.

Yesterday, I stitched these 2 fabrics together.
Then, I positioned ( with rulers and measuring tape) these panel blocks on the background.

Then I got them exactly where I wanted them, I lifted up one half of the block and gave it a little puff of basting spray.  Use this very sparingly--you don't want it in other areas.  You can reposition the block (it's not permanent) and it will biodegrade in a few weeks, or it will launder out with first washing.  I rarely use it, this can has lasted me 6 years....but once in a while it's exactly what I need. 

I took the whole thing to the machine and stitched the blocks onto the background with raw edge applique.
See how lonely my little pin cushion is in the back?  Awwww.....

I don't pin borders. I use my iron.  I fold the quilt in 4th's and iron a crease in the edges.  I fold the border in fourths and iron
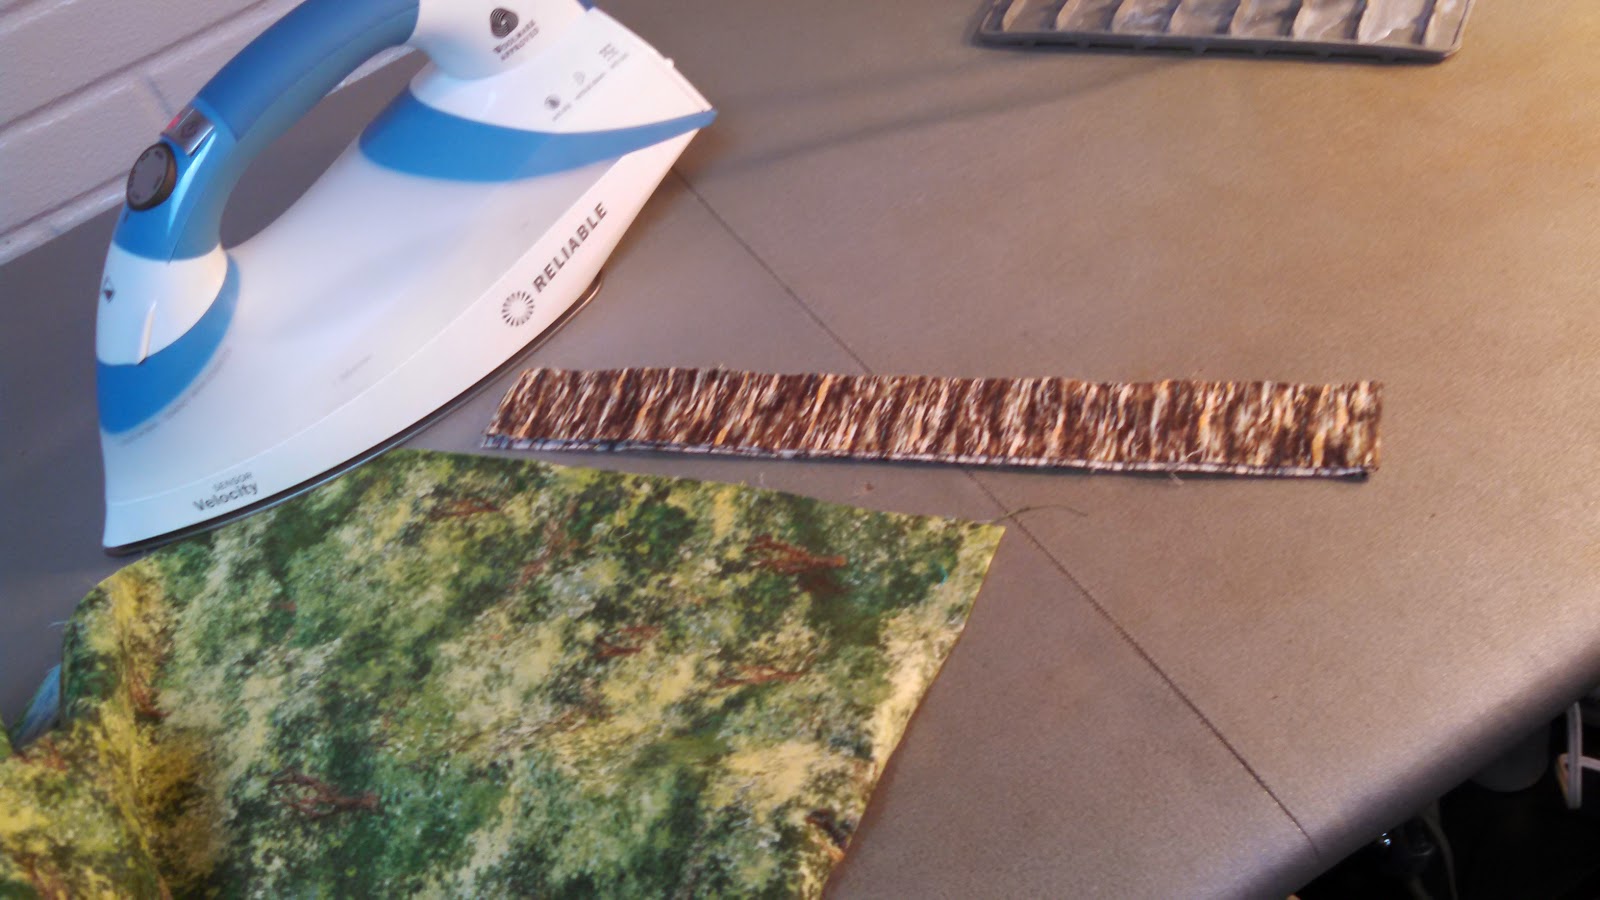
The results are evenly spaced creases.....  
Match them up as you sew and you will have perfect application every time.  No pinning.

I just start sewing, match up the first 2 creases, pinch that spot and hold it as I sew, repeat as you stitch down the seam.

I put this together yesterday without a single pin.


This sweet top for my granddaughter was sewn with no pins.

...except for the chiffon ruffle blocks--that  required major pinning.


Now that I have confessed, if you don't see me around for awhile, you can assume I am hiding from the quilt police. :)


Christmas Quilt #1

I am making a quilt for my granddaughter for Christmas.  I asked her last summer what colors she would like.  Without hesitation, she said, blue, lime green and gray.
Here we are:

See that chiffon to the left?  I have not sewn on chiffon since prom dresses in high school.  What do you know, it hasn't gotten any easier to manage......

I was inspired by my sister-in-laws quilt I just finished in my last post.  So I made a top similar to that one.

I found some matching velvety rick-rack in my trimmings/ribbons stash drawer, struggled through the chiffon and love how these blocks turned out.

 Here is the finished top.  I am waiting for the lime green backing to arrive.  I plan to use some left over blocks in a horizontal line in the back and also will piece her name on the back.  Can't wait to get started on the back.


Monday, November 3, 2014

Swirly Girly Quilt

I have been working on this customer quilt for a couple of days.
Just took it off the frame tonight and couldn't wait to share it with you.
It has little random ruffles...so sweet. 
I did each fabric a different quilt  pattern throughout the quilt. All quilted in white thread.
The red/white polka dot blocks all got swirls, the blue/red polka dot all got dwirling (Inspired by Dawn Ramirez), the paisleys, well, they are just outlined.  

A big star flower in the red blocks, 
Even the red block with the ruffles!
It just looks a little different underneath the ruffle.
Easiest cross hatch I ever did, I used the white on white fabric design for a guide.


Cream Minky on the back.

What a fun, swirly girly little quilt. 

Wednesday, October 29, 2014

Let it Snow!

I have been raking leaves, cleaning out my garden and getting my yard ready for winter.  Lovely fall weather we had had too!  This morning, I had my coffee on the deck at 66 degrees.  Then I went down to the studio and played in the snow!!
Hot Cocoa Club by Pearl Louise


I have had this quilt on the back burner for a client of mine for several months.  She told me there was no hurry, but I decided to get it done for her before winter set in and will send it off tomorrow so she can get it bound.

I had so much fun quilting all these different blocks, I hated for it to end.


 Different quilt patterns in each of the sky backgrounds...here I tried to convey a lazy, languid sky.

...this block needed a wind-blowing-in-my face-hope-I-don't-spill-my-cocoa sky.


This fisherman block was where I tried something new.  I marked a random off-center point on his inner shoulder and pivoted my ruler on that point at 1/2 increments all around the block.  I love this look and will use it again sometime.
Here is a close up of the backing--a frosty, glittery fabric with snowflakes swirls. 


Thursday, October 9, 2014

Stadium Blanket Done!

Just finished putting fleece binding on this blanket.
light weight denim on one side, fleece on the other.

I did a tutorial a few years ago how I apply fleece binding, you can see it here.

Square Spiral pantograph by Keryn Emmerson


Tuesday, October 7, 2014

Stadium Blanket

Here's my next project on the frame this afternoon.
I am quilting this piece of fleece and lightweight denim for a stadium blanket.
I plan to bind it with fleece also.

Bright Orange! ...finished

I just mailed this out to my client this morning.
Pattern is "Take 5"on point.
White Quilter's Dream Select poly batting, white So Fine thread by Superior. 
Bright oranges were invigorating to work with and the white flange is pretty smooth after quilting.  Happy with that... 
White cotton backing. 
She tucked in a piece of the fun plaid fabric for the binding.
Love it. 

Sunday, October 5, 2014

Bright Orange!

I'm working on this sweet customer quilt now. It reminds me of the print in a 1950's table cloth my Mom had when I was growing up.


LinkWithin

Related Posts Plugin for WordPress, Blogger...