My very first, genuine scrappy quilt.

My rule for this quilt was that all the fabric had to come from my stash and all 18 blocks had to be different.
1) All the block pieces came from my scrap drawers.


Simple quilted lines make an interesting secondary pattern without distracting from the colored blocks.

I have a lot of different backings but it was hard to find one I really liked for this. I needed 4 yards and I had 4.25 yards of this light green batik...and it's a different color than any green on the front.


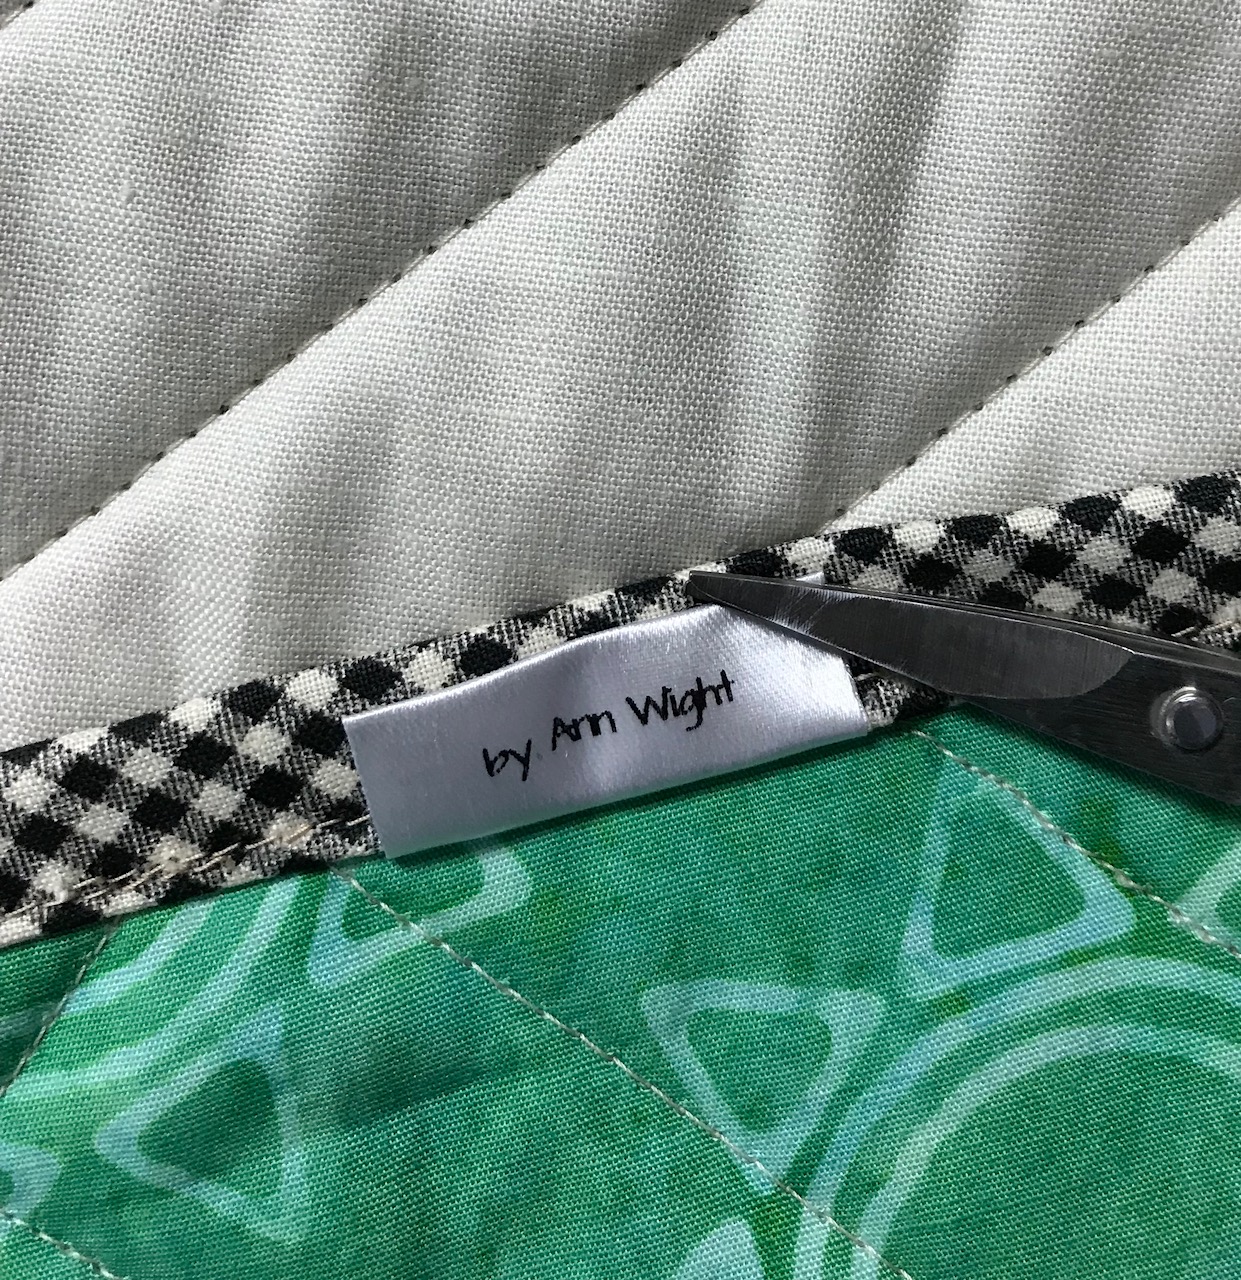
The hardest part was deciding on the binding, everything I tried just jumped out and screamed, "look at me!" I finally found the perfect addition with this black and white tiny checked print.

You can see that it's there, but it doesn't over power the quilt. Now, I love a fun, contrasting, scrappy binding and put them on many quilts. But it was just not working here for me. I love this.


~~~~~~~~~~~~
Sharing a few miscellaneous housekeeping tips.
I always float my quilts and the blue tape is just holding the rolled up canvas (that I never use) on my bottom take-up roller.

However, there are a couple of tape markers I use to keep my quilt tops nice and square all the way down to the bottom of the quilt. Doesn't get much more high tech than this, right? Once I square the quilt at the top all have to do is align the edge with my tape after each forward roll. (note the pieced batting...click here to see how I do mine.)

Piecers, please stay-stitch your quilts with pieced edges. I stay-stitch mine as I complete every 2-3 rows. By the time you wrangle several rows through your machine and then handle it back to the iron, etc, and the quilter handles it to get it on the frame.....well, I can guarantee no mater how careful we are, these pieced edges are coming un-sewn all over the top. Your quilter with thank you!
When I quilt a design that starts and stops at the same place, like around this diamond, I always like to start about an inch from a corner. That way you get nicely sewn corners and you can turn that last corner, line up your ruler and make a perfect landing on top of your previous stitches, I always back stitch 2 or 3 stitches to secure both ending and beginning after I have completed the diamond.


I always stitch my binding to the back, flip to the front and top stitch, it's fast and easy with perfect corners every time. Here's how I do machine bindings.
I love these little satin name tags. I ordered them at ikaprint. You can get them any size, color or font. I had mine printed like this so I could fold them in the middle and stitch them into the binding.


I have made a few scrappy quilts too and I find them fairly challenging. It takes a lot of time to go through scrap and select and coordinate colors. I think there should be a category in quilt shows for scrappy quilts but maybe the quilt stores wouldn't like that too much!
ReplyDeleteLove your quilt. thanks for the tips.
ReplyDeleteLots of great info in this post. I've saved it, so that I can re-read it when I get back home.
ReplyDelete